
An effective cure for chronic jaggies.
If you’re a Nintendo gamer of any duration, you’ve surely come to accept that we’ll always lag behind the other consoles graphically. And that’s fine. Considering the wealth of popular and acclaimed “retro style” games available today, it’s clear that cutting-edge graphics aren’t terribly important.
And yet if there was a way to make the Nintendo graphics just a tick better, would you try it out? Marseille is hoping so, as that’s exactly what they’re providing with the mClassic game console graphics processor.
The mClassic is meant to be the console equivalent of an upgraded graphics card, but it comes without the fuss of having to open anything up. Well, other than that port cabinet behind your Switch dock. It can work with anything that passes video through an HDMI cable, so you can also use the mClassic with your Wii U, Blu-ray player, PS4, Xbox One, and numerous other systems. This being Pure Nintendo in 2020, our review will focus on use with the Nintendo Switch—although you’re certainly welcome to connect it to your Wii U or even the GameCube with the right adapters.
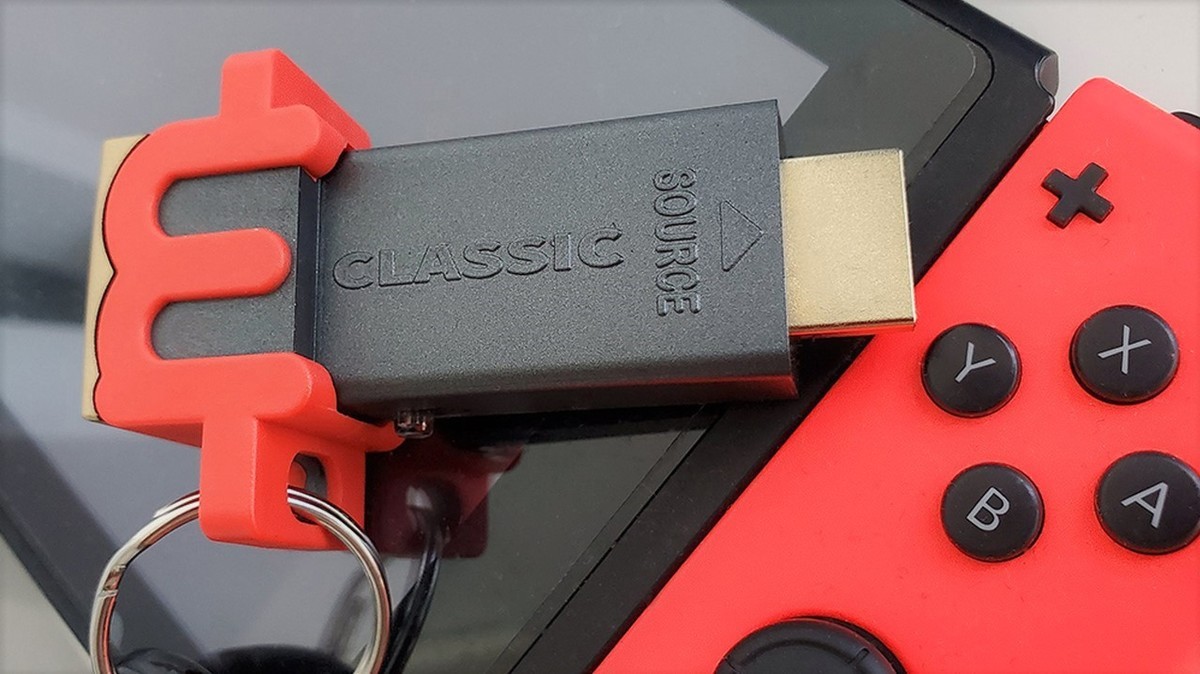
In fact, let’s start with adapters. The mClassic itself looks like an oversized USB flash drive. And although it doesn’t take up too much space, it doesn’t fit in the cable compartment of the Switch dock. Thankfully, Marseille includes an HDMI adapter that’s perfectly sized to fit in that compartment and allow you to connect the mClassic just outside of it (bottom cable, below).
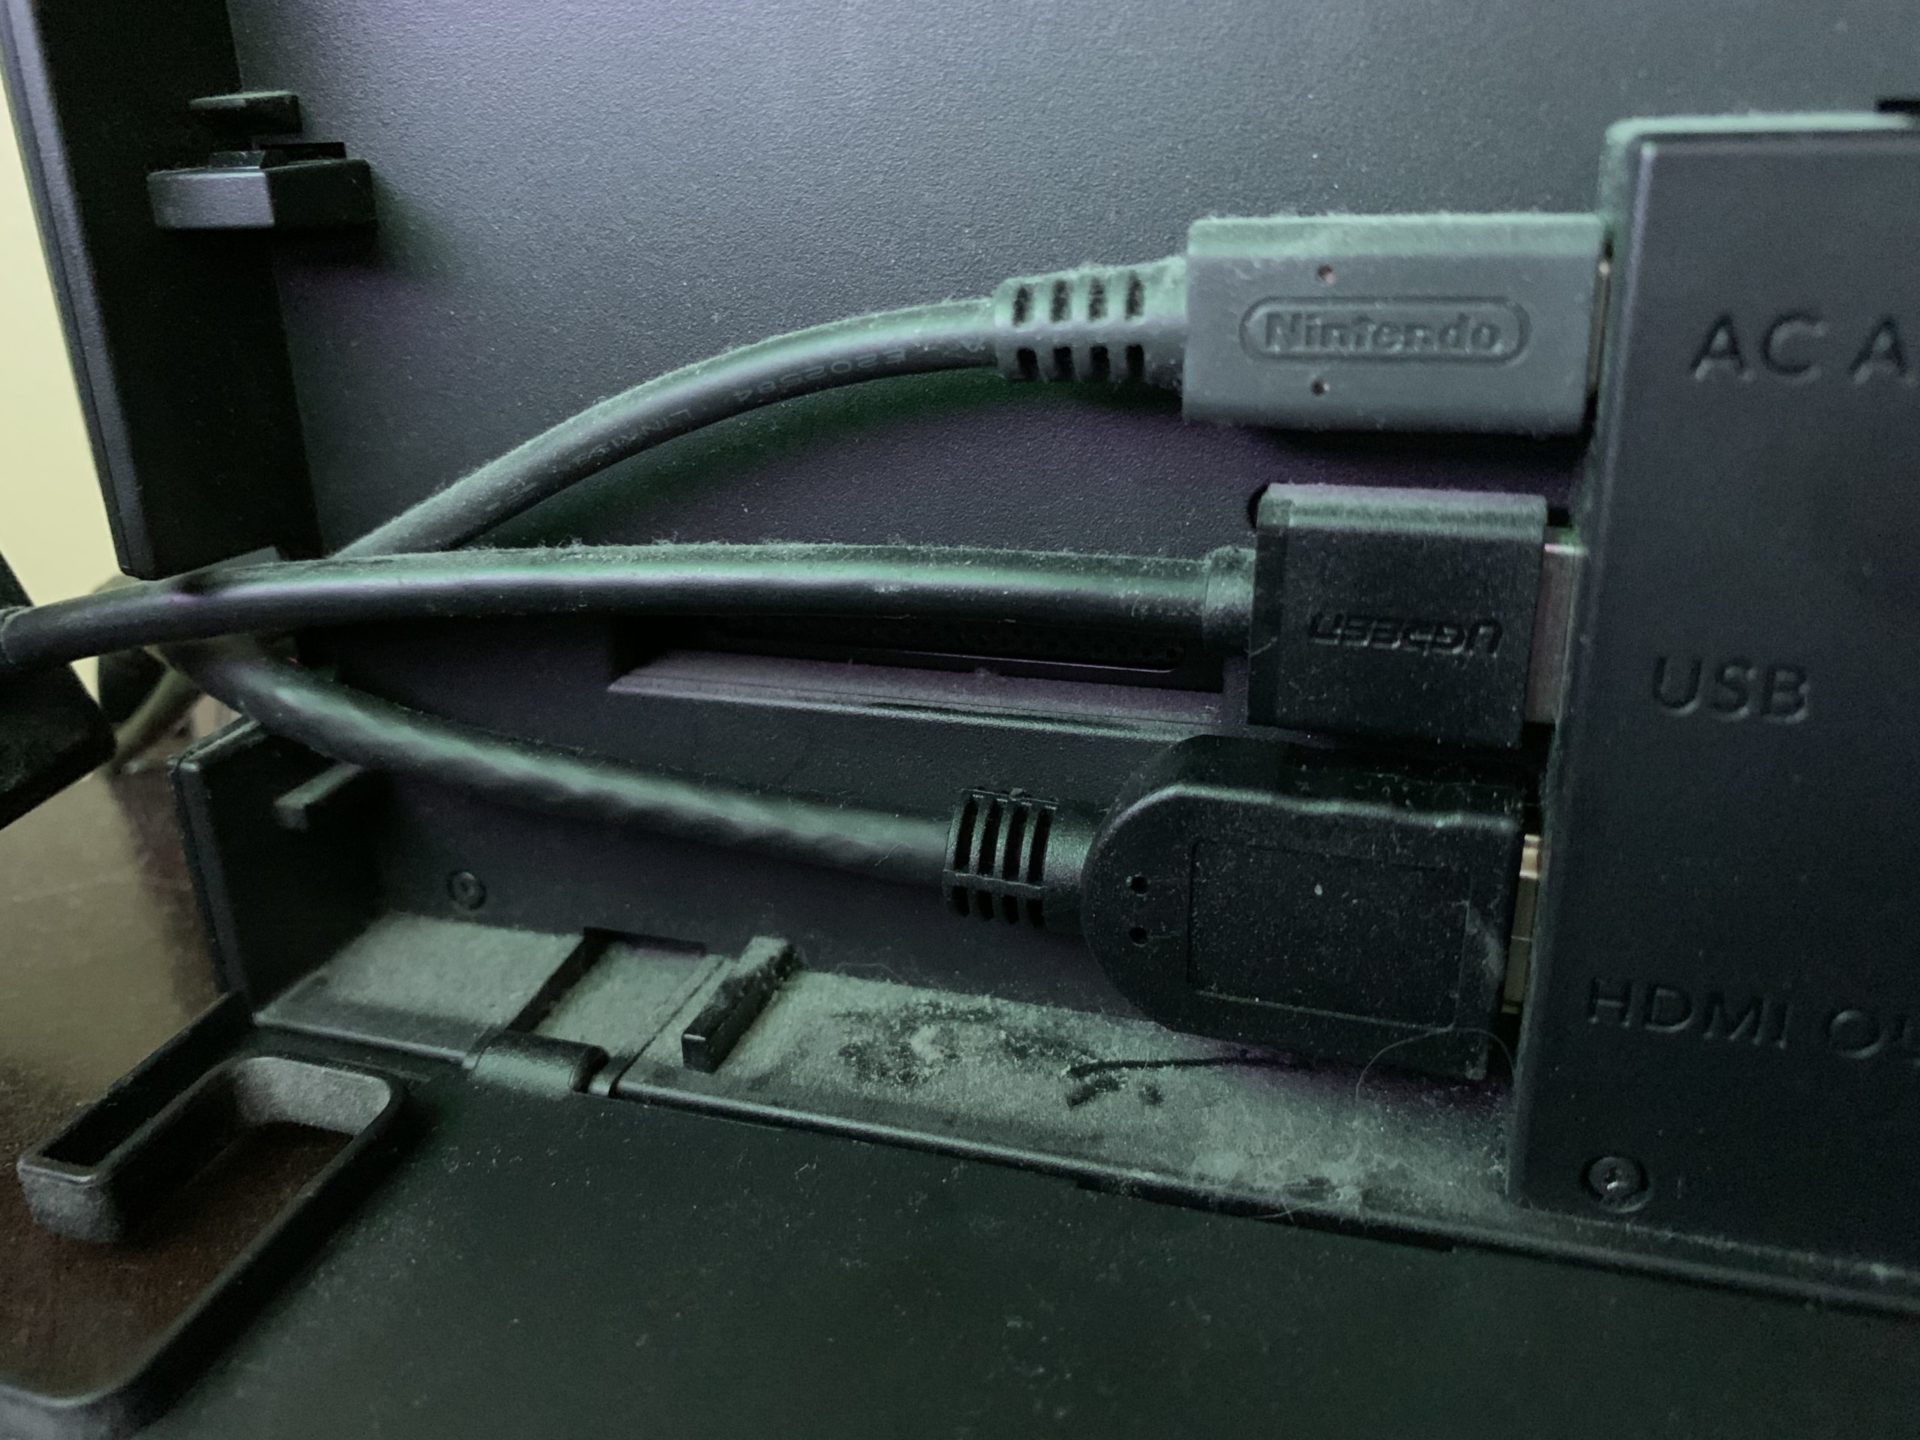
You then run your own HDMI cable from the mClassic to your TV. The final step involves connecting the mClassic to USB with another provided cable to power it up. This can be any powered USB port, but will likely be one on your Switch. The whole setup is pretty clunky, possibly forcing you to rearrange your hardware setup.
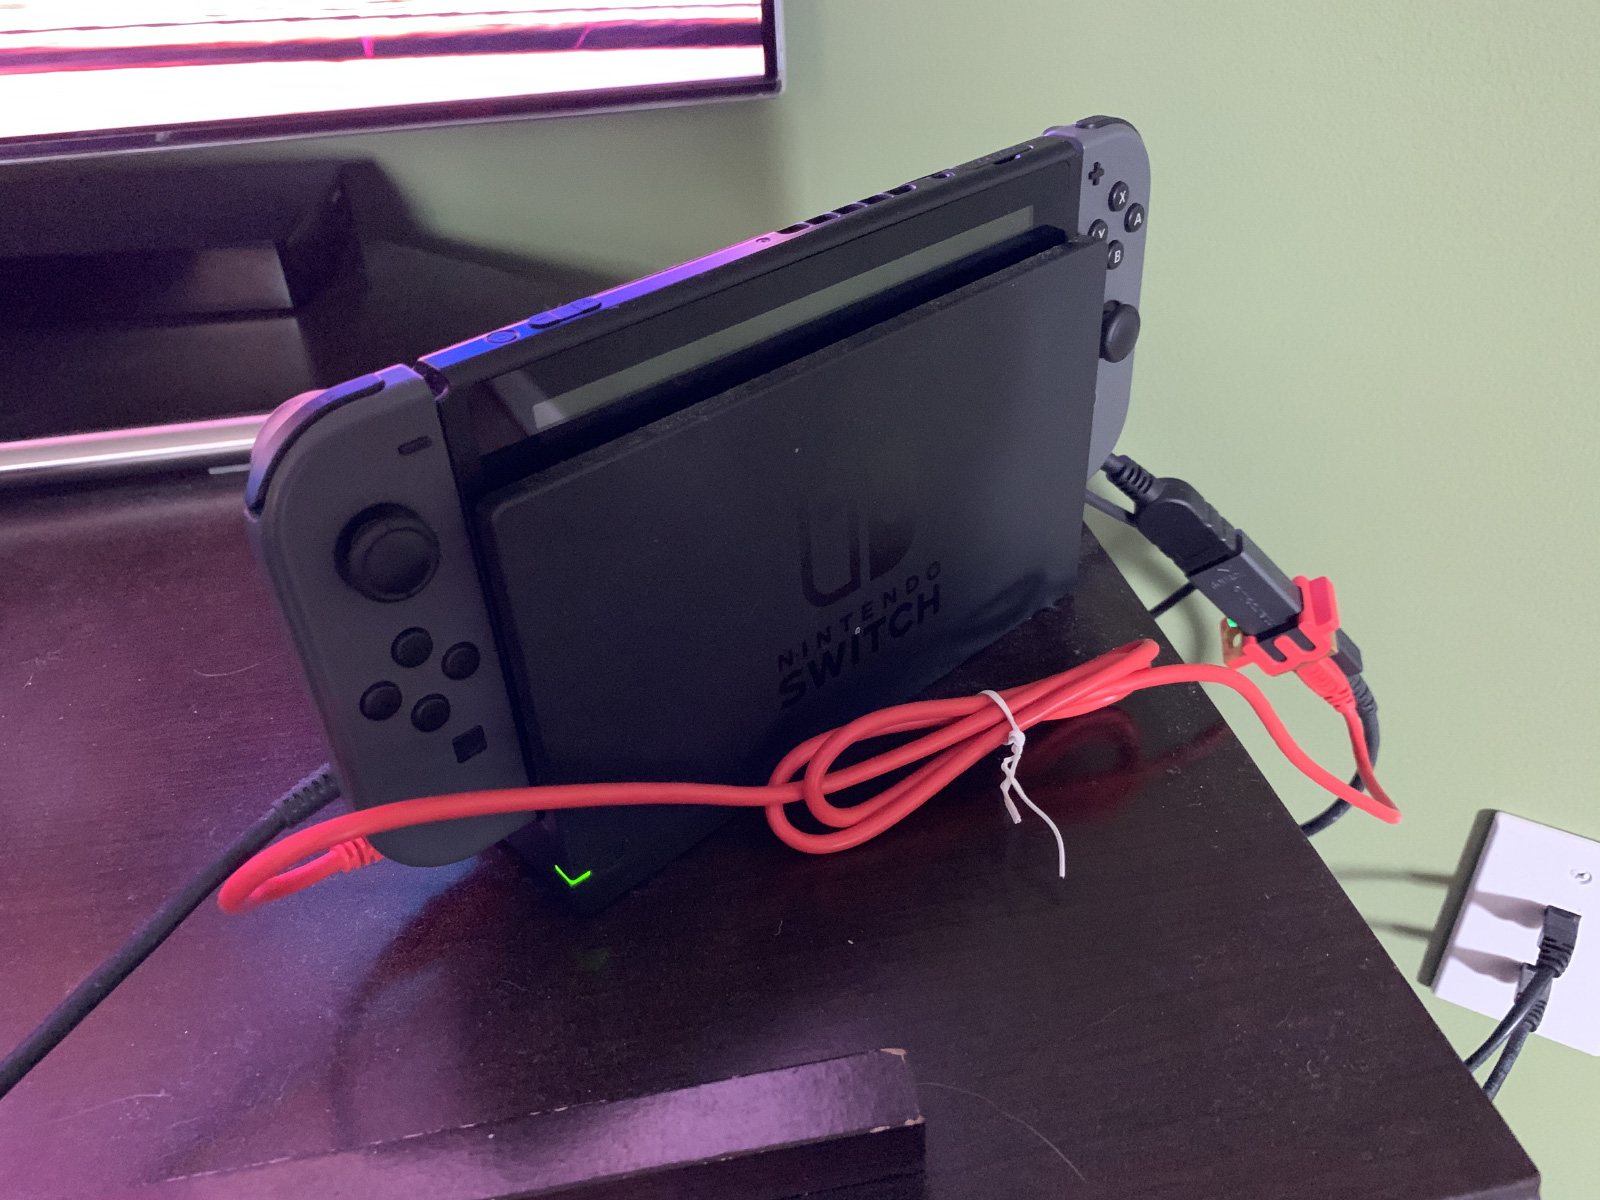
But do you know what? Deal with it, because it’s a very easy system. You’ll just want to make sure you have easy access to the mClassic hardware because it contains a toggle switch to enable and disable processing. It’s also used to switch between optimized settings for modern and retro games. An LED light indicates which setting you’re on (see the green indicator in the image above).
Once it’s all up and running, you may not notice a difference without searching for it. The mClassic isn’t a miracle worker that turns your Switch into a PS5, it simply smooths things out. It provides post-processing that can upscale 1080p content to 4K (at 30hz or lower). More importantly for Switch owners, it improves anti-aliasing, which removes jagged edges and provides crisper images. Indeed, if there’s a system that could really benefit from the mClassic’s capabilities, it’s the Nintendo Switch, where games often run at 720p or 1080p with no anti-aliasing. Of course, you only see the benefit in docked mode, but that goes without saying.
On smaller TVs, poor or no anti-aliasing isn’t much of an issue because the picture is too small for the jagged edges to stand out. But I have a 55″ Samsung OLED TV that can really highlight those jagged edges. The benefit was noticeable in games such as Xenoblade Chronicles: Definitive Edition, helping the forefront elements in those beautiful landscapes blend in better with the environment. Conversely, background elements can become blurrier, causing some detail to get lost.
It’s surprisingly more noticeable in games such as Animal Crossing: New Horizons where the action is slower and the lines are more clearly defined. Edges of the characters and landscape elements just feel more natural.


I’ll describe the difference by saying the game’s scenery looks like it’s a single illustration as opposed to a bunch of separate items cropped out and pasted into one larger image. This slider at the Marseille site helps to highlight.
I think where I saw the greatest benefit, however, was when I went back to the Witcher III: Wild Hunt. The mClassic was able to effectively upscale the 720p resolution to 1080p and smooth out the complex graphics in a way that made the game feel much less muddy. We’re still not at native 1080p, but the forefront elements looked decidedly better with no noticeable lag.


That’s just on the Switch on my 4K TV. I was also able to test it on the Wii U with a 42″ 1080p Samsung, and the results actually felt a bit more natural here since the TV hardware was more in line with the mClassic’s capabilities. I was especially impressed with its effect on games in Wii mode. Flip the mClassic to retro mode, and all those old 480p Wii games are smoothed over. This does make them look blurrier on larger TVs, much like they used to on the old CRT TVs and screens when many of these games were originally released. Playing Shinobi, for example, in Wii mode felt much more like it did at the old arcades. And games such as The Last Story and even Wii Bowling get a nice visual upgrade that makes them easier to return to after gaming two generations ahead.
The mClassic did present two problems that are worth mentioning. First, I already covered the cable clutter it creates around your Switch. This is understandable considering the device is built to be compatible with multiple devices, but it’s still an issue. Second, with the mClassic plugged in, there were times when the Switch would display on my TV with a distinct purple tint. Turning off the Switch, TV, and receiver then turning them back on resolved the issue, but that’s something I never had to do with the Switch connected directly to the receiver.
Now, whether this is all worth it depends upon your specific setup. Your TV may already provide suitable upscaling, for example. There’s also the fact that many of us Nintendo gamers simply don’t care about jagged edges; Breath of the Wild and Super Mario Odyssey are amazing game experiences with or without advanced anti-aliasing. But if your setup is right, and if you’re willing to pay for that extra graphical push, the mClassic is up to the task.
Review: mClassic game console graphics processor
Very Good
The mClassic box boasts of “better graphics, better pixels, better gameplay.” This graphics processor does deliver on graphics and pixels for Switch and Wii U gamers. Better gameplay, though? If you think smoother lines are that important, you’re likely already playing on a system that doesn’t need the mClassic.
Tags
Nintendo SwitchThe Author